Showing posts with label white chocolate. Show all posts

Wednesday, November 13, 2013

Raspberry and (White, Dark, and Milk) Chocolate Cheesecake


Who doesn't like cheesecake? After not having it for awhile I often think I could take it or leave it...and then I have a bite and remember its creamy deliciousness. This was my first attempt at a real cheesecake and it turned out pretty well. For my first time I wasn't going to try to make something up myself and after much searching around to find what I wanted, I found this recipe from Sweet Anna's. I couldn't have hoped for a better first cheesecake. Or second....or third. It was excellent. Making the raspberry sauce proved to be much more of a pain than I was expecting and I think I would try to avoid that in the future. This definitely doesn't need the chocolate topping for either looks or taste, but it's a great addition.


Raspberry and Chocolate Cheesecake
How I Did It:


Raspberry Sauce
1 (10oz) package frozen raspberries
2 tablespoons sugar
2 teaspoons cornstarch
1/2 cup water

Chocolate Crust
25 Oreos, crushed
1/4 cup melted butter

Cheesecake filling
2 cups chopped good quality white chocolate
1/2 cup half & half
3 (8oz each) packages cream cheese, softened
1/2 cup sugar
3 large eggs
1 teaspoon vanilla
1/4 teaspoon salt
1 1/2 cups milk chocolate chips

Chocolate ganache topping
1/2 cup heavy cream
1 cup semi-sweet chocolate chips
1/4 cup milk chocolate chips


1. In a saucepan on combine raspberries, sugar, cornstarch, and water. Bring to a boil, making sure to stir occasionally.

2. Pour through a fine strainer to remove the seeds (it's okay if there are some left) and store in the refrigerator until you are ready to use.

3. Preheat the oven to 350. In a bowl, mix together butter and crushed Oreos until well combined. Press into the bottom of your Springform pan.

4. Bake crust for about 10 minutes, or until set. Remove and set aside.

5. Reduce heat to 325.

6. In a saucepan heat and just before it starts simmering remove from the heat and stir in the white chocolate until smooth. Set aside.

7. In a large bowl, beat together cream cheese and sugar until smooth. One at a time beat in the eggs, making sure each is well combined. Beat in the salt, vanilla, and the white chocolate mixture.

8. Wrap the outside of the Springform pan tightly with aluminum foil. Place a jellyroll pan (or roasting pan if you have it) in the oven and getting some water boiling on the stove (for you water bath).

9. Pour half of the cream cheese mixture over the crust. Sprinkle the milk chocolate chips evenly over the filling and then drizzle 5 tablespoons of the raspberry sauce on top of that. With the tip of a butter knife, swirl the sauce.

10. Pour the rest of the filling over the chocolate chips and raspberry sauce and then drizzle another 5 tablespoons of the raspberry sauce on top and swirl it again.

11. Place the uncooked cheesecake in the center or the jellyroll/roasting pan. Carefully pour the boiling water in the jelly roll or roasting pan. If using a jellyroll pan, fill to the top. Otherwise, fill with enough water to reach halfway up the Springform pan.

12. Bake the cheesecake for about an hour until the center looks set, but still jiggles a little if you shake the pan. Remove from the oven and let the cheesecake sit in the hot water for another half hour.

13. Continue to cool (still in the Springform pan) on a cooling rack. Once at room temperature, place in the refrigerator to continue to set and chill for at least 3 hours.

14. While the cheesecake is chilling, you can make the ganache. In a double boiler, combine the heavy cream and chocolate chips. Stir occasionally and remove from heat once smooth. Let cool, continuing to still occasionally to keep the smooth texture.

15. Pour the ganache over the top of the cooled cheesecake, letting some drip down the sides. Return to the refrigerator for another 3 hours or so to let the ganache set.

Remember to store any leftovers in the refrigerator.

Thursday, January 31, 2013

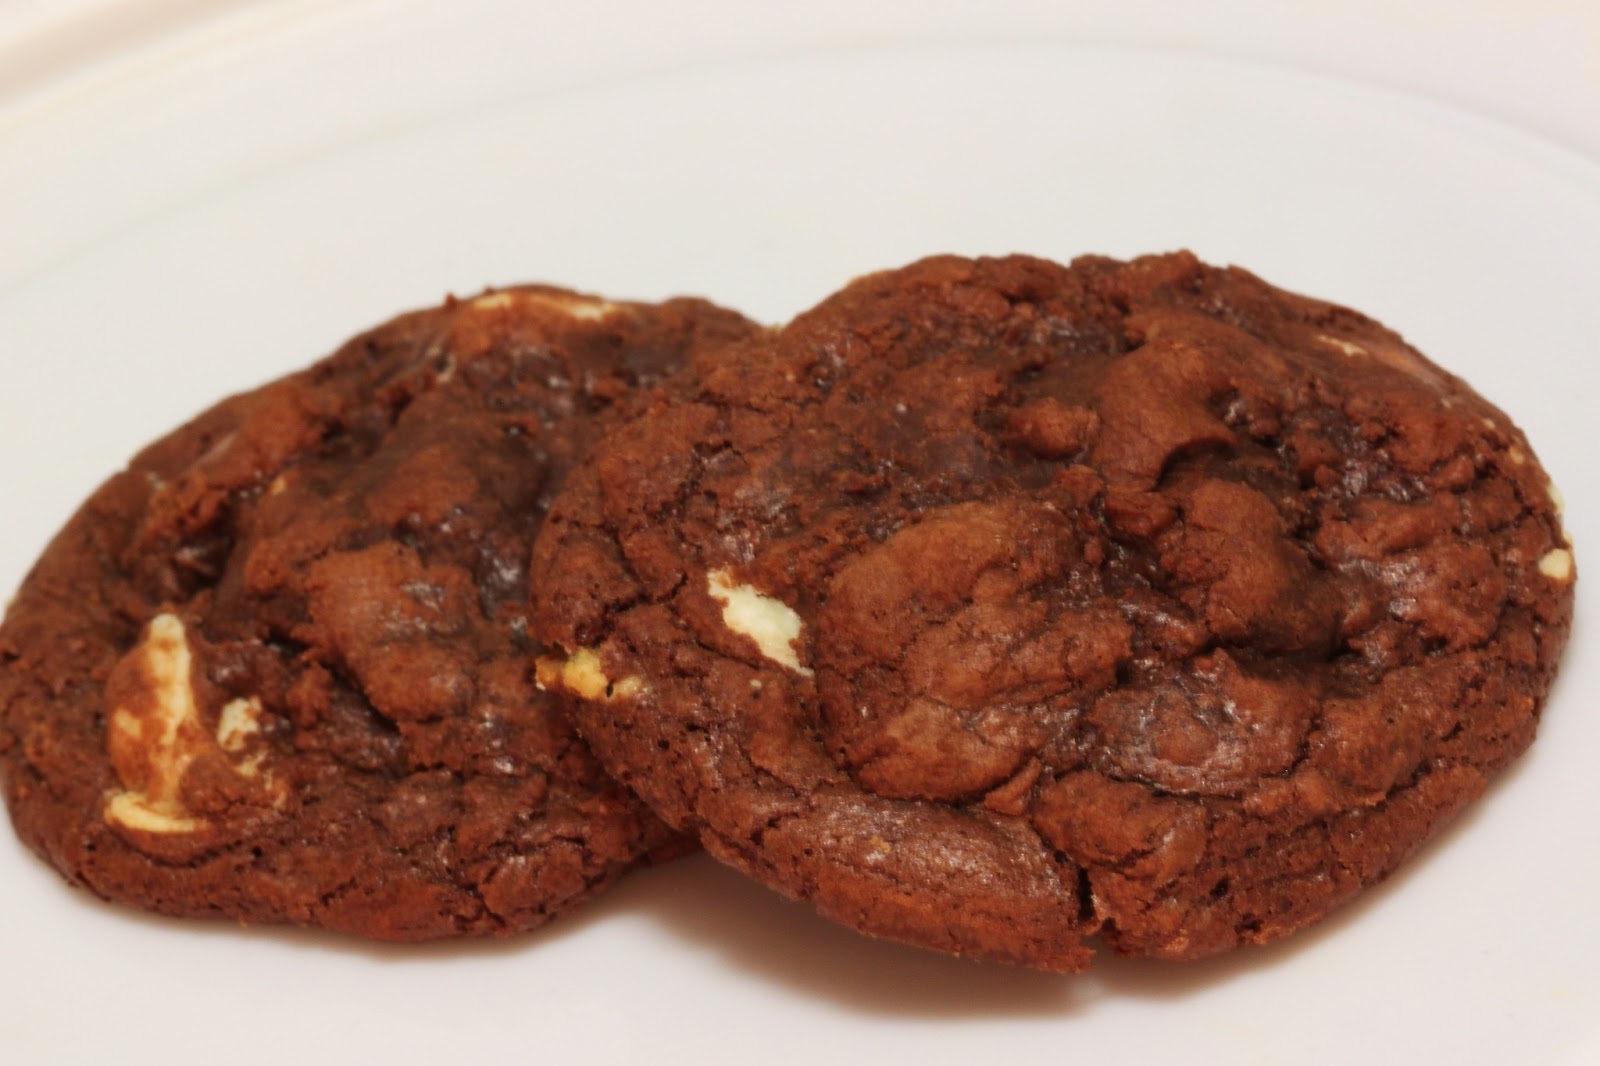
Cookies 'n' Cream Brookies


If you love chocolate, you know how good brownies are. I don't mean "cake-like" brownies...I mean real brownies in all their fudge-like glory. Sometimes though you want something a little more...presentable? Well, when you want the taste and texture of a brownie, but the class of a cookie, brookies are what it's all about! I have made chocolate cookies before, but never a chocolate cookie this fudgy and delicious. As good as they were, it beats my chocolate snowball cookies in chocolatey-fudginess. Really, they are so soft and chewy and packed with flavor. The recipe is adapted from what I found at Andrea The Kitchen Witch  who was using the brookie recipe in the Clinton St Baking Company Cookbook. If you look at the ingredients there is much less added fat and flour than other cookies. I'm not saying it's healthy, what I am saying it's mostly chocolate and sugar. :) I have gotten into this thing where I only make part of a batch of cookies so I don't have to stress about what I am going to do with them all. Eat them, I know. There is only so may you can eat though before they are not at their best. If you need (want?) more though just double everything.

Cookies 'n' Cream Brookies
How I Did It:

(makes about 12 cookies)

1/4 cup all purpose flour
1/8 tsp baking powder
1/8 tsp salt
1/2 tbsp canola oil
1/2 tsp unsalted butter
1 cup semi-sweet chocolate
1 large egg
1/4 + 1/8 cup dark brown sugar
1/2 tsp vanilla
7 oz cookies 'n' creme kisses, halved


1. In a small/medium bowl, whisk together flour, baking powder, and salt. Set aside.

2. In a double boiler, melt the oil, butter, and chocolate and stir until well-combined and smooth. Take off heat and let cool, stirring frequently.

3. While the chocolate mixture is cooling, in a separate bowl whisk together the egg, brown sugar, and vanilla.

4. Fold the melted chocolate mixture into the egg mixture. Stir in the flour mixture until just combined. Stir in broken kisses.

5. Pour into a shallow pan and place in the freezer for 6 to 8 minutes. You just want it to harden up, do not let it freeze. Preheat oven to 350 and prepare cookie sheet with your Silpat or parchment paper.

6. Remove from freezer and scoop rounded balls (slightly larger than tablespoon size) onto prepared baking sheet, keeping each 2 inches apart. Bake for about 10 minutes until the edges look dry and the tops have started to crack a bit.

7. Cool for 2 minutes on the baking sheet before removing to cool completely on cooling racks.

Monday, November 12, 2012

Harvest Muddy Buddies


Muddy buddies, puppy chow, monkey munch...whatever you call it, you know it's good. If you don't know how good it is, then you have probably never tried it. Chocolatey and peanut buttery, it manages to be delightfully crunchy and melt in your mouth at the same time. I've made it several times, but I saw a picture on Pinterest for "Halloween Puppy Chow" and thought it would be prefect to take to a (post) Halloween party. Credit for the idea goes all to Your Cup of Cake, although I can't say I used her recipe. What a great idea to put a holiday theme on a quick and easy dessert snack. Oh, and it's really, really good...in that addicting sort of way. I welcome you to try to make it without sampling any along the way!

Harvest Muddy Buddies
How I Did It:


18 cups of Rice Chex
1 1/2 cups white chocolate chips
1 1/2 cups semi-sweet chocolate chips
1 1/2 cups creamy peanut butter
1/2 cup butter
2 tsp vanilla
3 1/2 cups powdered sugar
1 1/2 cups Reese's Pieces
1 1/2 cups Halloween M&M's

1. Line two large cookie sheets with parchment paper and set aside.

2. In a double boiler, melt 1/4 cup butter, 3/4 cup peanut butter, and white chocolate. While it's melting, pour 9 cups of the Chex cereal into a large mixing bowl. Once the butters and white chocolate start to melt, stir to speed up melting, add 1 tsp vanilla and continue to stir to smooth and combine.

3. Pour white chocolate mixture over the cereal and gently mix to coat evenly.

4. Coat the bottom of a casserole dish or brownie pan with 1 cup of the powdered sugar. Pour the Chex mixture on top and gently mix to coat. Add 3/4 cup more of powdered sugar to finish coating the cereal.

5. Spread cereal out of the prepared cookie sheet to dry.

6. In a double boiler, melt 1/4 cup butter, 3/4 cup peanut butter, and the semi-sweet chocolate. While it's melting, pour 9 cups of the Chex cereal into a large mixing bowl. Once the butters and chocolate start to melt, stir to speed up melting, add 1 tsp vanilla and continue to stir to smooth and combine.

7. Pour the chocolate mixture over the cereal and gently mix to coat evenly.

8. Coat the bottom of a casserole dish or brownie pan with 1 cup of the powdered sugar. Pour the Chex mixture on top and gently mix to coat. Add 3/4 cup more of powdered sugar to finish coating the cereal.

9. Spread cereal out on the separate prepared cookie sheet to dry.

10. Once the cereals have dried out a bit (you are waiting for them to be less sticky), combine together and add the candies. Serve immediately or it is good for at least two weeks if kept in an air-tight container.


Wednesday, August 1, 2012

Funfetti Blondies


Okay, so maybe I have gotten a tiny bit obsessed with blondies. In the last couple months I have made Cookie Butter BlondiesCoconut Blondies (after trying these my friend said, very seriously..."this is the best thing I have ever put in my mouth..." True story.), and the low in guilt Chocolate Chip Blondies With a Secret. They are just so good and so simple and there are endless variations waiting for me to test them out (read: there will be more to come)!

After seeing how pretty my Funfetti rice crispy treats turned out, I was excited to try Funfetti blondies (aka cake batter blondies). I ran out of sprinkles so sadly I couldn't top them with extra color, but no sadness when it came to the taste. I prepared them like you would a brownie mix (note: I did use milk instead of water) and they are exactly what I was going for...delicious fudgy brownies, but with cake batter instead! So good. Wow. I brought them to a party where their number much outweighed the number of guests and they were all easily gobbled up.


Funfetti Blondies
How I did it:


1 box Funfetti cake mix
1/4 cup canola oil
1 large egg
1/3 cup milk
1/2 cup sprinkles
1/2 cup white chocolate chips

1. Preheat oven to 350. Grease a 9x9" baking pan and set aside.

2. Beat cake mix, oil, and egg in a large bowl just until combined. Slowly add in milk.

3. Stir in sprinkles and white chocolate chips. Pour batter into prepared pan and spread out until even.

4. Bake for about 25 minutes or until the edges are lightly brown and the center is still light in color and appears to be just barely set on top (don't touch it though b/c it is not actually set).

5. Let cool completely (as they will be gooey) before cutting into bars and serving. Store in an airtight container at room temperature.

Sunday, June 3, 2012

Cookie Butter Blondies


I think I must have been one of the last people to hear about this cookie butter stuff. At first I dismissed it as a special type of butter for making cookies. Silly me. After reading more about it I ran into Trader Joe's during my lunch break to pick up a jar to see for myself what the talk was all about. I had to try it right away of course (I waited until I got back to my desk) and it was even more flavorful than I expected. As advertised, it was like gingerbread and biscuit cookies, but in the texture of peanut butter. I was distracted for the rest of the day thinking of all of the ways I could use it in baking. In place of peanut butter? Stuffed inside baked goods? Layered with other flavors?

Working it into blondies wasn't my most exciting idea, but it is the first one I was able to try out since I needed something not too gooey and elaborate that I could use to contribute to a camping potluck (along with my pasta salad). The night of the potluck I heard people I had never met recommending them to others and by the time my friends who were late getting back to the campsite arrived they were long gone (as it turned out I still had a few in another container somewhere that I had forgotten about. Sadly, they were a bit stale by the time they were found...oh, don't worry, they still got eaten).


Cookie Butter Blondies
How I did it:

(makes 24 bars)

1/2 cup (1 stick) unsalted butter
2 cups light brown sugar
1/2 heaping cup cookie butter
2 1/2 cups all purpose flour
1 teaspoon baking powder
1/4 teaspoon baking soda
1/2 teaspoon salt
2 eggs
1 teaspoon vanilla
1/3 cup dark chocolate chips
1/3 cup white chocolate chips


1. Preheat oven to 375°F. Grease a 9 x 13 inch baking pan and set aside.

2. In a medium saucepan melt the butter and then add the brown sugar. Stir mixture constantly until smooth. Remove from heat and stir in cookie butter. Set aside to let cool.

3. Whisk together the flour, baking powder, baking soda and salt.

4. Add one egg at a time to the saucepan mixture followed by the vanilla, making sure to mix well after each addition. Pour this mixture into the dry mixture and stir until smooth (will be very thick). Mix in white and dark chocolate chips, reserving some for the top, if desired.

5. Pour into baking pan, making sure it is evenly spread out. Sprinkle remaining chips on top and press down lightly.

6. Bake for about 20 minutes or until it start to lightly brown. Remove from oven and let fully cool before cutting into bars.


Monday, March 26, 2012

White Chocolate Covered Cheesecake Strawberries


Cheesecake and fruit. These were the first two things my friend listed when I mentioned my plan to make him something for his birthday. Immediately I thought of those cheesecake stuffed strawberries that have been all over Pinterest. Yes, of course they look good, but not overly exciting. Not enough cheesecake filling! So, I decided to take strawberries, split them in half, pile on the cheesecake filling, cover them back up and then dunk them in white chocolate. If it were for myself I would have done milk chocolate, but I know he is a fan of white chocolate and I thought it would look nicer anyway. I didn't want to make the filling too sweet since I was also dunking in white chocolate, but you could easily add more powdered sugar as you go along if you find it is not sweet enough for you.

Not wanting to overwhelm him I only made 8, but you could change the ratios to make more or less. They were a bit messy, but he said they were really tasty. The cheesecake filling alone would make a great fruit dip! Okay, I confess...I dunked a strawberry or two in the leftover filling and I was not disappointed.

White Chocolate Covered Cheesecake Strawberries

How I did it


8 strawberries
5 ounces of cream cheese, room temperature
2 tablespoons powdered sugar
1/2 bag good quality white chocolate chips (I use Ghirardelli)
1/2 tablespoon canola oil (or shortening)

1. Wash, dry, and de-stem the strawberries. Set aside.

2. Beat together cream cheese, powdered sugar and vanilla until creamy.

3. Cut one strawberry at a time down the middle, lengthwise, and clean out any of the white in the middle. Scoop the cheesecake filling onto the freshly cut strawberry half and then lightly press the other half on top. Some filling should be sticking out of the sides and the top. This is good. Place on a tray and repeat for the other strawberries. When complete (it won't take long!) place your tray of cheesecake strawberries in the fridge to let the filling harden up a bit.

4. Pour about 1/2 a bag of white chocolate chips and a small amount of canola oil (you could also use shortening, but I prefer oil)  into a double boiler to melt. Do not let any water mix in or you will ruin your chocolate. You don't necessarily need a full 6 ounces/half bag, but you do want to make sure you have extra in there so there is plenty of white chocolate depth for dipping your your strawberry sandwiches will come apart! Take the strawberries out of the fridge one at a time and  holding at the top (larger) end dunk into the chocolate. Place on a tray and repeat for the rest of the strawberries. When done place the tray in the fridge. Once the white chocolate has hardened you can serve or put in an container to store in the fridge.