Showing posts with label brownies. Show all posts

Thursday, January 8, 2015

Frosted Brownie Bites


The frosted brownie bite....when the situation calls for a cupcake, but you call for a brownie.

If you haven't tried this flour frosting, you will want to. It is addicting and pairs great with the chewy chocolate goodness of a brownie.


Frosted Brownie Bites
How I Did It:

(Frosting recipe from Tasty Kitchen)

Your favorite brownie batter
5 tbsp all purpose flour
1 cup 2% milk
1 tsp vanilla
1 cup butter
1 cup granulated sugar

1. Preheat oven to 350. Grease your mini muffin pan and set aside.

2. Make your brownie batter as usual and scoop into your prepared muffin pan, Bake for about 10 minutes or until they have a slightly glossy, rounded tops. You want them to be slightly under baked, so if you use a cake tester, remember it doesn't need to come out clean (just not covered in uncooked batter).

3. Remove from oven and let cool before removing from tins. If they do not come out easily, gently run a butter knife around the edges and pull up. Set aside while you make the frosting.

4. Whisk flour and and milk in a pot over medium-low heat. Keep stirring until it thickens (do not stop stirring or it will stick and be ruined). Stir more! It will turn very thick (like your brownie mix!) and then you can remove it from the heat and bring to room temperature.

5. Once it has cooled, stir in the vanilla.

6. While the mixture is cooling, beat the butter and sugar together until light and fluffy and the graininess of the sugar is gone.

7. Add the cooled flour and milk mixture to the butter and sugar and beat well until it looks like thick whipped cream.

8. Frost your brownies and enjoy!


Sunday, November 24, 2013

Deep Chocolate Black Bean Brownies


I know, I know...you are thinking, "I love brownies and there is no way that I am putting black beans in my brownies." Sure, you have heard of people doing it, but that doesn't mean you are willing to kill brownies yourself. Well, if you enjoy rich chocolate desserts, I urge you to give it a shot. These brownies might be healthy in that they don't have much added sugar (just from the semi-sweet chocolate), they get all their only fat from the beans, and there is no flour at all, but they are pretty tasty. I wouldn't say they taste like a brownie, but they don't taste beany to me at all. When I have used white beans in desserts, I agree that you can sort of taste them if you know they are there (even with added sugar), but black beans are much more stealth. I will warn you though that they are very intense in dark chocolate flavor so if that isn't for you, you might want to add some sugar. I am all about sweets, and I thought these were great. I ate them with a fork and savored every bite. Since I was making them for people who are used to "normal" desserts I added 3/4 tbsp of sugar (not much!) and sprinkled the top with milk chocolate chips, but that's not necessary.

Deep Chocolate Black Bean Brownies
How I Did It:


1/2 cup semi-sweet chocolate chips
1 cup canned black beans, drained and rinsed
1 egg
3/4 tsp vanilla
1/8 tsp salt
1/2 tsp baking powder
1/2 cup plain non-fat Greek yogurt
1/4 cup + 1 tsp Dutch-processed cocoa powder
1/8 cup milk chocolate (or semi-sweet chocolate) for topping

1. Preheat oven to 350. Coat a bread pan with canola oil and set aside.

2. Carefully melt the chocolate chips in the microwave or in a double-boiler. Stir to make sure all pieces are melted. Let cool slightly (continue to stir so it does not harden).

3. Pour rinsed black beans and the melted chocolate into food processor and pulse until smooth. Add in the rest of the ingredients and continue to process until smooth, occasionally scrapping down the sides.

4. Pour into prepared bread pan and spread out evenly.Sprinkle chocolate chips across the top.

5. Bake for about 20-25 minutes or until the top starts to crack. Do not over-cook or they will be dry. Wait until fully cooled before cutting into bars. They can be stored in an airtight container in the fridge (do not leave out!) for a couple days.


Thursday, January 31, 2013

Cookies 'n' Cream Brookies


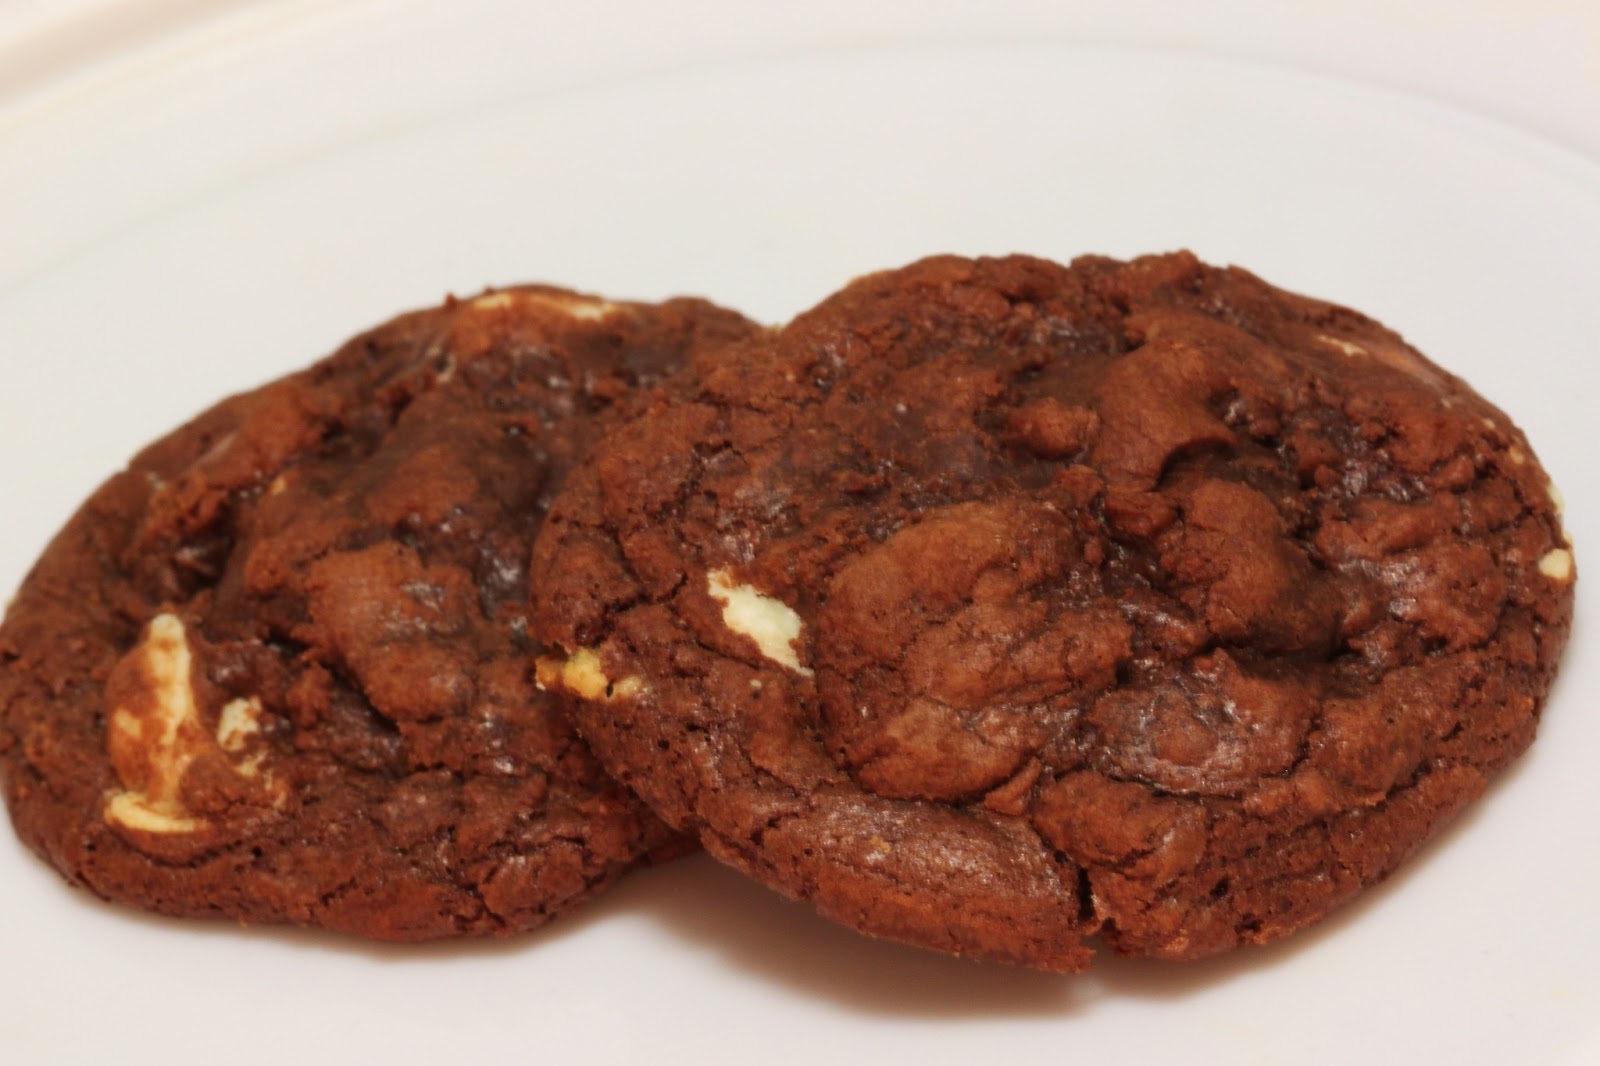
If you love chocolate, you know how good brownies are. I don't mean "cake-like" brownies...I mean real brownies in all their fudge-like glory. Sometimes though you want something a little more...presentable? Well, when you want the taste and texture of a brownie, but the class of a cookie, brookies are what it's all about! I have made chocolate cookies before, but never a chocolate cookie this fudgy and delicious. As good as they were, it beats my chocolate snowball cookies in chocolatey-fudginess. Really, they are so soft and chewy and packed with flavor. The recipe is adapted from what I found at Andrea The Kitchen Witch  who was using the brookie recipe in the Clinton St Baking Company Cookbook. If you look at the ingredients there is much less added fat and flour than other cookies. I'm not saying it's healthy, what I am saying it's mostly chocolate and sugar. :) I have gotten into this thing where I only make part of a batch of cookies so I don't have to stress about what I am going to do with them all. Eat them, I know. There is only so may you can eat though before they are not at their best. If you need (want?) more though just double everything.

Cookies 'n' Cream Brookies
How I Did It:

(makes about 12 cookies)

1/4 cup all purpose flour
1/8 tsp baking powder
1/8 tsp salt
1/2 tbsp canola oil
1/2 tsp unsalted butter
1 cup semi-sweet chocolate
1 large egg
1/4 + 1/8 cup dark brown sugar
1/2 tsp vanilla
7 oz cookies 'n' creme kisses, halved


1. In a small/medium bowl, whisk together flour, baking powder, and salt. Set aside.

2. In a double boiler, melt the oil, butter, and chocolate and stir until well-combined and smooth. Take off heat and let cool, stirring frequently.

3. While the chocolate mixture is cooling, in a separate bowl whisk together the egg, brown sugar, and vanilla.

4. Fold the melted chocolate mixture into the egg mixture. Stir in the flour mixture until just combined. Stir in broken kisses.

5. Pour into a shallow pan and place in the freezer for 6 to 8 minutes. You just want it to harden up, do not let it freeze. Preheat oven to 350 and prepare cookie sheet with your Silpat or parchment paper.

6. Remove from freezer and scoop rounded balls (slightly larger than tablespoon size) onto prepared baking sheet, keeping each 2 inches apart. Bake for about 10 minutes until the edges look dry and the tops have started to crack a bit.

7. Cool for 2 minutes on the baking sheet before removing to cool completely on cooling racks.

Tuesday, March 27, 2012

Chocolate Chip Peanut Butter Pillow Cookies


A few months ago I made chocolate chip pillow cookies for the first time. Do I really have to say I loved them? I mean, a chocolate chip cookie with a brownie inside...what's not to love? I had an urge to make them again for a party I was going to, but thought they might be tasty with some peanut butter added in. So here we have the peanut butter chocolate chip (you can't leave out the chocolate chips) cookie stuffed with a brownie. Are they  as good as I had hoped? Well, a girl I never met before came up to me after learning I was the one who brought these cookies and gave me a hug and said, "thank you." So I guess they're okay. 


Chocolate Chip Peanut Butter Pillow Cookies

How I did it


Your favorite brownie recipe (or box mix)
1 cup all-purpose flour
1 teaspoon baking soda
1/4 teaspoon salt
1/2 cup peanut butter 
1/2 cup (1 stick) unsalted butter - at room temperature
1/3 cup light brown sugar
1/2 granulated sugar
3/4 teaspoon vanilla extract
1 large egg
heaping 1/4 cup rolled oats (not quick cooking)
1/2 cup mini semi-sweet chocolate chips


1. Prepare and bake brownies. Take out of oven and set aside to cool. 

2. Preheat oven to 350 degrees and prepare baking sheets. There is enough fat in these that you don't need to grease your cookie sheets if they are non-stick. Otherwise lightly spray with cooking oil or line with parchment paper.

3. Whisk flour, baking soda and salt together in a bowl. Set aside.

4. Beat together peanut butter, butter, sugars, and vanilla until creamy. Add egg and beat until just combined. Slowly beat in flour (1/3 at a time). 

5. With wooden spoon, stir in rolled oats and mini chocolate chips. 

6. Cut brownies into about 1/2 inch pieces if you want smaller ("normal" sized) cookies and 1 inch or larger for nice giant cookies. Do not use the edges of the brownie. There will be plenty of extra brownies left when you're done - I'm sure I don't need to give you suggestions for what to do with it. 

7. Take your desired amount of cookie dough (about 2-4 tablespoons for a smaller cookie and 1/2 cup if you want giant cookies) and roll it into a round ball. Push your thumb into the middle and widen an opening for your piece of brownie. Once the brownie is inside fold the cookie dough around it. The brownie should be inside, in the middle, completely covered with cookie dough. You can experiment and use more/less cookie dough as desired, but make sure all the cookies in each batch are about the same size so the cook evenly. 

8. The cookies will be done pretty quickly and you do not want to over-cook them or they will be dry. Start checking them after about 5-8 minutes and take them out when they are very lightly brown. Let them cool for a few minutes on the cookie sheet and then place them in an airtight container until ready to serve. They are just as good the next day, but that's all I can vouch for as mine were gone within 24 hours. 


Sunday, March 18, 2012

Peppermint Patty Brownie Bites


How I had not made brownie bites before? They are like the brownie bar's better looking and much more well behaved sibling. I got it into my head that I should make brownie bites for a Saint Patty's Day party I was going to this afternoon. I had all of these ideas for how to make them more fun and a little more festive. I'm not sure why I thought putting a peppermint patty in the middle would make them Irish, but they sure did taste good! I am using past tense because they are long gone.

Peppermint Patty Brownie Bites

How I did it:


Your favorite brownie recipe (or box mix)
20 peppermint patties

1. Preheat oven to 350.

2. Prepare brownies according to recipe.

3. Thoroughly grease mini muffin tins (I used 20 tins).

4. Drop a small amount of the brownie batter into the bottom of each tin. Make sure the bottom is covered. Place an upsidedown peppermint patty on the top of each and press down gently. Cover with batter, making sure all holes are filled. Fill any leftover (empty) tins with a half inch or so of water so you don't ruin your pan. 

5. Cook in the oven for about 20 minutes. As tempting as it is, do not remove the brownies right away or they will fall apart. When slightly cooled, gently twist the brownie and pull up. If it does not come out easily it needs more time. 

Microwaved brownie bite...messy, but so worth it!


Serve immediately to enjoy the creamy center or wait until cooled to experience the traditional peppermint patty texture. You can re-heat in the microwave for about 10-30 seconds, depending how gooey you want it.