Showing posts with label oreo. Show all posts

Sunday, December 28, 2014

Chocolate Mint Oreo Cookies


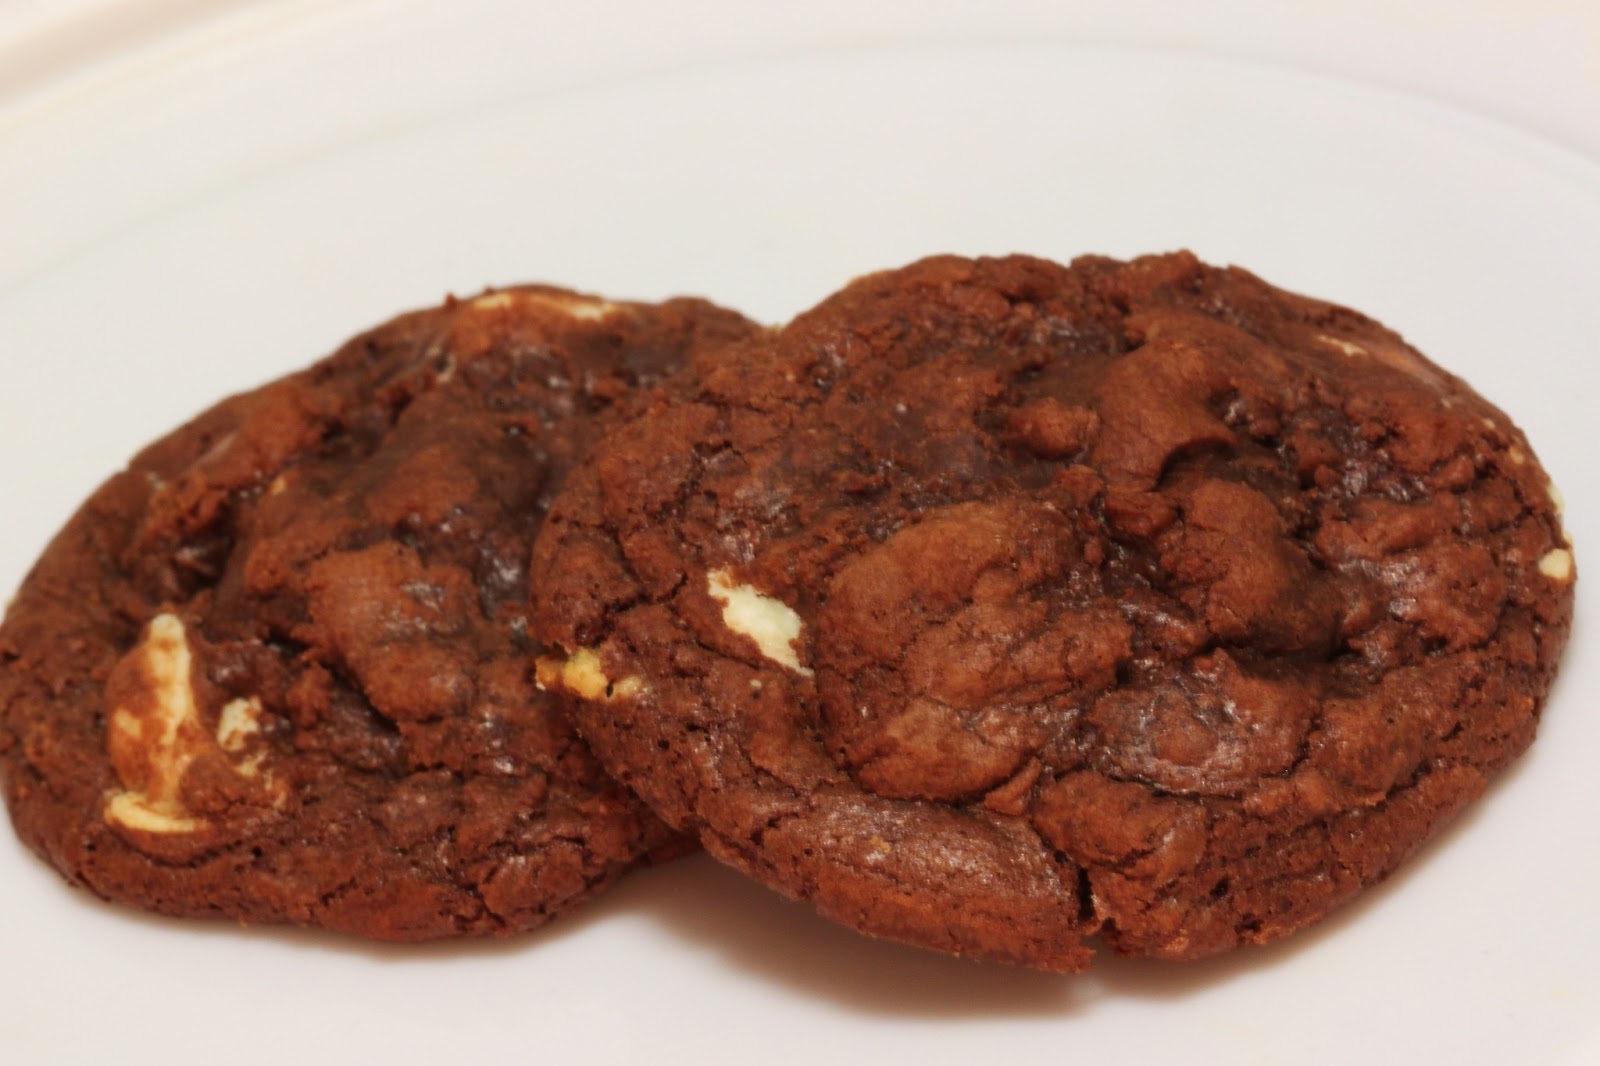
My sister and I have started a lovely little tradition of baking cookies together to share with our family for Christmas. This year we made four (including the traditional chocolate chip which cannot be messed with) including this tasty bite I found at Life, Love & Sugar. Perfect amount of chocolate and mint (you will see I added more mint than the original recipe and I thought it was just right as adjusted). Make sure not to over-bake these or they will end up more like chocolate mint scones. If you make the recipe as is, you will have a lot of leftover mints and Oreos. Rough stuff. As a side note, ever tried frozen Oreo cookies?


Chocolate Mint Oreo Cookies
How I Did It:


1 1/4 cup all purpose flout
1 tsp baking soda
1/2 cup dutch processed cocoa
3/4 cup unsalted butter, room temperature
1/2 cup dark brown sugar
1/2 cup granulated sugar
1 egg
1 tsp vanilla extract
3/4 cup Andes mints, chopped
1 cup Mint Oreo, broken up

1. Whisk together the first three ingredients and then set aside.

2. Beat butter and sugars together until light and fluffy (about 3-5 minutes).

3. Beat in egg and vanilla extract

4. Add in dry ingredients and beat just until combined.

5. Stir in Andes Mints and Mint Oreos until evenly distributed.

6. Chill for at least 2 hours (overnight is fine).

7. When ready to bake, preheat oven to 350. Roll dough into 2 tablespoon sized balls and space 2 inches apart on your prepared cookie sheet.

8. Bake for about 8 minutes or until edges are firm, but center looks still slightly unset. Remove and let cool slightly before continuing to cool on a cooling rack. Fantastic served warm, but still good for a couple days if kept in an airtight container (does not need to be refrigerated).

Sunday, December 7, 2014

Peanut Butter Chocolate Trifle


I love trying new dessert ideas and combinations, but every time I make a trifle I feel that I need to include brownie (not cake, ugh), some sort of pudding, Oreo cookies, and of course whipped cream. This time I wanted to add another flavor and I was thinking of caramel, but then had to go with peanut butter since I knew it was a favorite of a few of the people who would be eating it (with good reason). To save time, I didn't make the brownies from scratch and I used instant chocolate pudding because I remember loving it in the past, and it is good, but I am sure homemade would have been better. You could make everything yourself or or buy it all and just put together! I have to say, fresh whipped cream is always so much nicer and it is so easy to make.

I made all of the parts (except the whipped cream) the day before and just assembled when I was ready. This still tastes great the next day, but will  not look as good since the whipped cream will weep into the chocolate.

Peanut Butter Chocolate Trifle
How I Did It:


1 batch of brownies (homemade or box), cooled and cut into squares
5 oz box chocolate pudding, prepared
2 cups heavy cream
1 cup peanut butter
8 oz whipped cream cheese, room temperature
1 cup powdered sugar
2 tbsp milk (I used 2%)
1/2 box Oreo, smashed


1. Beat heavy cream and 1/3 cup powdered sugar until stiff peaks form. Do not stop early! Cover and put in fridge.

2. Beat together peanut butter and the cream cheese until combined and creamy and then add in the remainder of the powdered sugar and then the milk. Once well combined, gently stir in 1 cup of the whipped cream.

3. Using a bowl (or trifle dish if you have one), starting layering with brownies on the bottom, then the peanut butter mixture, then Oreo, then chocolate pudding, and then the whipped cream. Repeated this once more and then sprinkled more Oreo crumbles on the top. Keep refrigerated - best the same day.


Thursday, January 31, 2013

Cookies 'n' Cream Brookies


If you love chocolate, you know how good brownies are. I don't mean "cake-like" brownies...I mean real brownies in all their fudge-like glory. Sometimes though you want something a little more...presentable? Well, when you want the taste and texture of a brownie, but the class of a cookie, brookies are what it's all about! I have made chocolate cookies before, but never a chocolate cookie this fudgy and delicious. As good as they were, it beats my chocolate snowball cookies in chocolatey-fudginess. Really, they are so soft and chewy and packed with flavor. The recipe is adapted from what I found at Andrea The Kitchen Witch  who was using the brookie recipe in the Clinton St Baking Company Cookbook. If you look at the ingredients there is much less added fat and flour than other cookies. I'm not saying it's healthy, what I am saying it's mostly chocolate and sugar. :) I have gotten into this thing where I only make part of a batch of cookies so I don't have to stress about what I am going to do with them all. Eat them, I know. There is only so may you can eat though before they are not at their best. If you need (want?) more though just double everything.

Cookies 'n' Cream Brookies
How I Did It:

(makes about 12 cookies)

1/4 cup all purpose flour
1/8 tsp baking powder
1/8 tsp salt
1/2 tbsp canola oil
1/2 tsp unsalted butter
1 cup semi-sweet chocolate
1 large egg
1/4 + 1/8 cup dark brown sugar
1/2 tsp vanilla
7 oz cookies 'n' creme kisses, halved


1. In a small/medium bowl, whisk together flour, baking powder, and salt. Set aside.

2. In a double boiler, melt the oil, butter, and chocolate and stir until well-combined and smooth. Take off heat and let cool, stirring frequently.

3. While the chocolate mixture is cooling, in a separate bowl whisk together the egg, brown sugar, and vanilla.

4. Fold the melted chocolate mixture into the egg mixture. Stir in the flour mixture until just combined. Stir in broken kisses.

5. Pour into a shallow pan and place in the freezer for 6 to 8 minutes. You just want it to harden up, do not let it freeze. Preheat oven to 350 and prepare cookie sheet with your Silpat or parchment paper.

6. Remove from freezer and scoop rounded balls (slightly larger than tablespoon size) onto prepared baking sheet, keeping each 2 inches apart. Bake for about 10 minutes until the edges look dry and the tops have started to crack a bit.

7. Cool for 2 minutes on the baking sheet before removing to cool completely on cooling racks.

Tuesday, July 10, 2012

Loaded Ice Cream Cake


My favorite kind of cake has always been ice cream cake. I guess it's something that little kids usually like, but I'm not embarrassed to admit that although cake has grown on me over the years I would much prefer ice cream to regular cake any day! For awhile now I have been wanting to make an ice cream cake and I thought, what better time that my birthday? Is it weird that I made myself a birthday cake? Maybe. Store-bought ice cream cakes are fine, but not usually overly exciting. I'm not saying that my ice cream cake is more exciting than any store bought ice cream cake...I'm saying that it is more exciting to me. It is MY birthday after-all, right? ;)


After much planning I decided on what would make me happy and it's not for the faint of heart. I started with an eggless cookie dough (I have made it before - tasty and easy!) and topped it with a layer of mint brownie ice cream - I would have used the whole carton, but I was worried about fitting everyone else on. Next I crumbled (in various sized pieces) regular Oreos - I was not shy about this. The cookies 'n cream ice cream came next and on top of that I smoothed the ganache that I made. It sounds fancy, but it's really easy to make. And boy was it good - I tasted "some" as I was making it...I could have just eaten it all plain! Moving on. I topped the whole thing off with candy. I had made more cookie dough which I rolled into a long log and froze so it made it easy to just chop it up and sprinkle it on. I also added mini peanut butter cups (which, by the way have the perfect chocolate/peanut butter ratio) and chopped up fun sized Milky Way bars. The edges I decorated with Oreos. I should note that this all went into a spring form pan and went into the freezer to completely set/freeze between each layer. The exception being the ganache/candy layer - I added the candy right away while the chocolate was still soft. Oh, wow - I wish I was eating some now! Luckily, I do have some left - crowding out all healthy food in my freezer...but so worth it! Really!


Loaded Ice Cream Cake
How I did it


Cookie Dough bottom (eggless cookie dough)
1 stick of unsalted butter, at room temperature
1/2 cup packed brown sugar
1/4 cup granulated sugar
2 tbs milk
1 tsp vanilla
1 1/4 cups AP flour
1/2 tsp salt
1/2 cup mini semi-sweet chocolate chips

Ice Cream filling
1 quart Edy's Mint Brownie
1.5 quarts Edy's Cookies 'n Cream
 package Oreo Cookies, broken into different sized pieces

Chocolate Ganache
1/2 cup heavy cream
1/2 cup semi-sweet chocolate chips
heaping 1/2 cup milk chocolate chips

Topping
Mini Reese Peanut Butter Cups
Milky Way, chopped
4 Oreos, broken evenly in half
1/2 batch of eggless cookie dough

1. Place the two containers of ice cream in the refrigerator to soften (do not leave out on the counter - you don't want them to melt completely). Place Oreos/Oreo pieces in the freezer.

2. Start with the cookie dough bottom. Beat butter and sugars together until light and fluffy.  

3. Beat in milk and vanilla and then flour and salt. Stir in chocolate chips until well combined.

4. Spread cookie dough mixture evenly in the bottom of a 9" springform pan. Place in the freezer for at least 20 minutes.

5. While the cookie dough is in the freezer make another half batch of it (1/4 or less would be plenty as well). On parchment paper, roll dough into a long log and place in the freezer to harden.

6. Remove the springform pan from the freezer and coat the cookie dough with mint brownie ice cream. Smooth until level and then place back in the freezer until frozen. 

7. Take pan out of the freezer and coat liberally with Oreo pieces. Put back in the freezer until re-hardened. 

8. Remove pan from freezer and top the Oreos with the cookies 'n cream ice cream. Smooth until even and place back in freezer. Cover well with plastic wrap and let it sit for at least several hours (I let it sit overnight). 

9. After the ice cream has been in the freezer for a good long time you can start making the ganache. In a double-boiler pour 1/2 cup heavy cream and about 1/2 of the chocolate. Stir continuously and as the chocolate starts to melt in with the  slowly add the rest of the chocolate. Once fully combined, remove from heat. Continue stirring frequently until it has cooled to room temperature. You will really need to watch and stir it often to make sure it doesn't thicken too much. 

10. While your ganache is cooling, prepare all of your toppings. Chop the cookie dough (from the freezer), the Milky Way, and carefully cut the Oreos in half. Place everything in the freezer.

11. Once the ganache has cooled, set up all of your toppings so they are ready to be used. Take the pan of ice cream cake out of the freezer, and carefully pour the ganache on top. The cold ice cream will make it harden up so you will need to work quickly to spread it out evenly over the top. Immediately add your toppings, pushing down gently. As soon as you are done, pop it back in the freezer to let harden again for at least a couple hours. 

12. To serve: Remove the sides of the springform pan. You may need to run a knife along the edge to loosen it. Depending how frozen it is, you may need to let it sit for a couple minutes. Run a long, wide knife under hot water, remove excess water and slice yourself a piece! Marvel at how delicious it looks. Enjoy! 

Sunday, March 18, 2012

Chocolate Covered Mint Oreos


It was post-dinner on a Friday night and the amount of time I had before needing to head out the door was quickly dwindling. I had wanted to make something sweet to give to my friend, but delays on my commute home limited my options. Cookies were out and something about a bar dessert doesn't really scream, "Happy Birthday." So yes, I decided to cover something in chocolate. Chocolate covered Oreos have the distinction of being ridiculously delicious, very presentable, simple to make in whatever quantity you desire, and just all around quick and easy with great results. Or, at least they should be...

I wanted to go with a St Patrick's Day theme. My idea was this: Mint Oreos with the green center, coated in a layer of dark chocolate, frozen until well set and then covered in a layer of white chocolate. Before the white chocolate set I planned to sprinkle them with green sugar. In my mind, they looked beautiful.
As you can tell, it was a fail. Even though I worked quickly the warm white chocolate immediately and disastrously melted the dark chocolate underneath creating what you see above. I would love to try again as it had the potential to look really neat and it sure did taste good! 
I ended up giving her the best look of the double dipped Oreos (not pictured), and just leaving the rest with the single coat. Next time I'll do the white chocolate first. Any other ideas?

Chocolate Covered Mint Oreos

How I did it:


1/2 bag dark chocolate chips 
1/2 bag white chcolate chips (if you want to be daring)
12 Cool Mint Oreos

1. Prepare a cookie sheet with wax paper and set next to the stove. 

2. In a double boiler, melt half a bag of dark chocolate chips (or more/less depending how much you would like to make). Be careful not to get any water or steam into the chocolate as it will seize and be ruined. Mix with a spoon until smooth. One at a time drop the desired amount of Oreos into the chocolate and flip around with a fork until coated. Carefully remove the Oreos by sliding the fork underneath and lifting out and placing on the cookie sheet. 

3. The Oreos can be put either in the fridge or the freezer to set. Putting them in the freezer ensures that you will be able to eat/transport them within a few minutes. 

4. If you are daring you can repeat the same process with the white chocolate on top and then put them back in the freezer to set again.