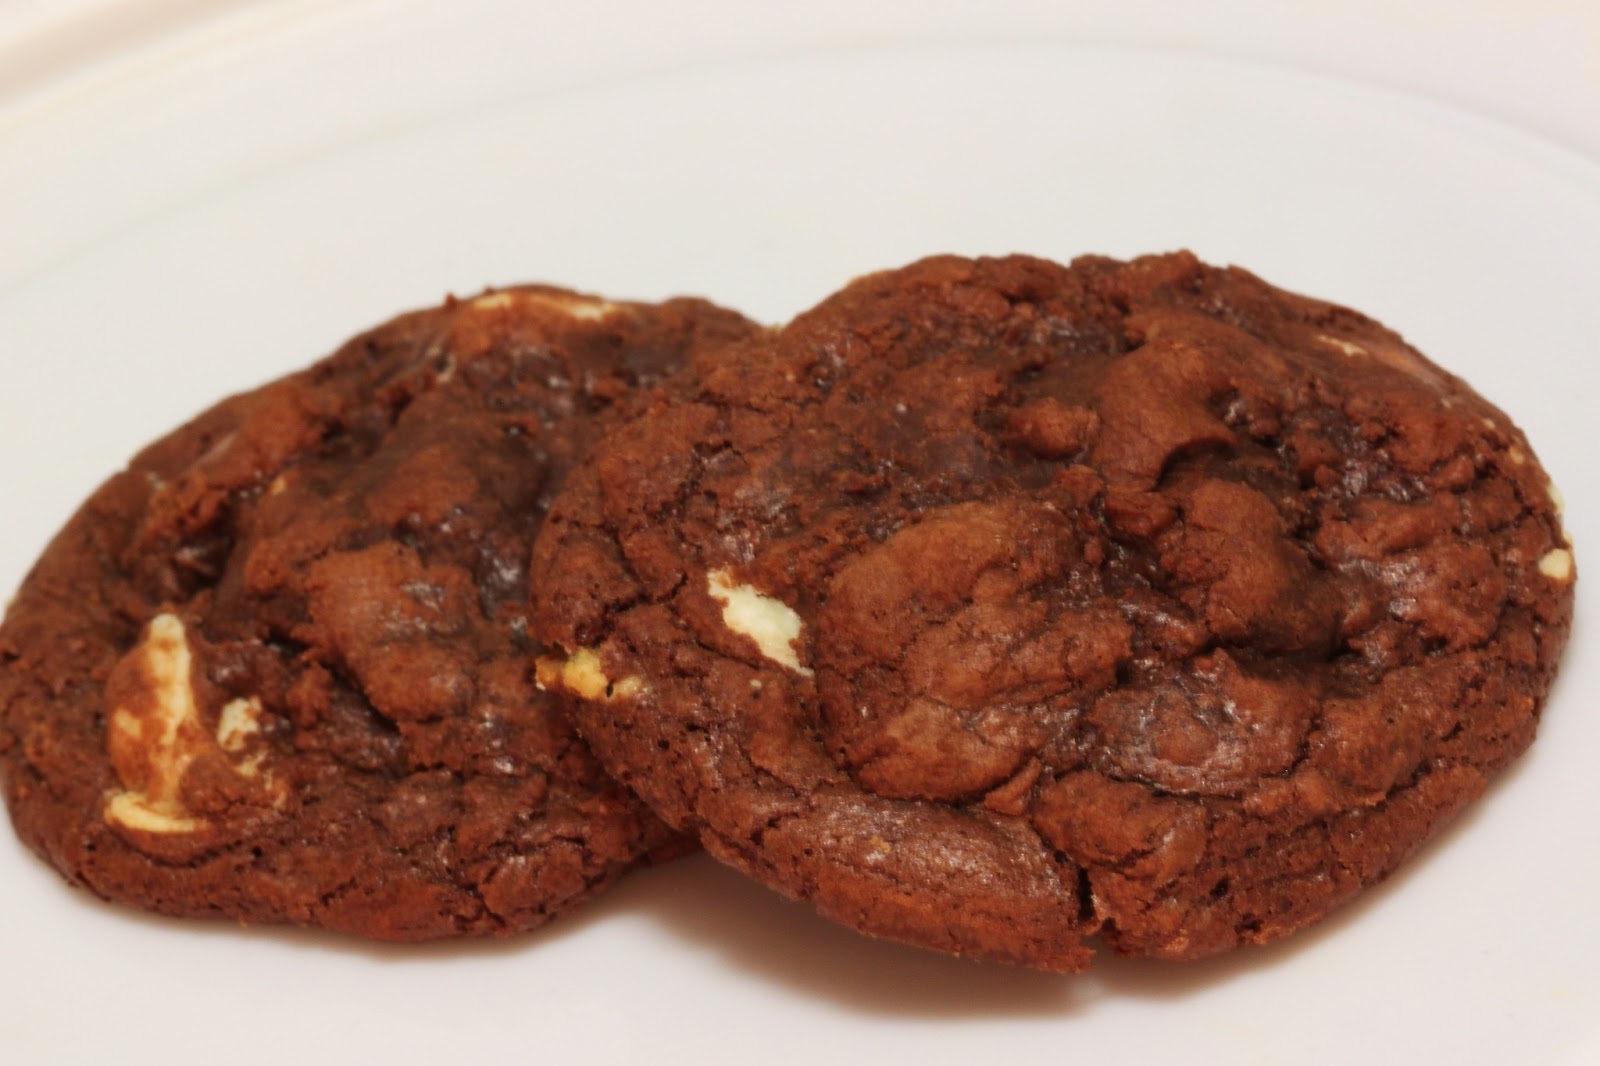
If you love chocolate, you know how good brownies are. I don't mean "cake-like" brownies...I mean real brownies in all their fudge-like glory. Sometimes though you want something a little more...presentable? Well, when you want the taste and texture of a brownie, but the class of a cookie, brookies are what it's all about! I have made chocolate cookies before, but never a chocolate cookie this fudgy and delicious. As good as they were, it beats my chocolate snowball cookies in chocolatey-fudginess. Really, they are so soft and chewy and packed with flavor. The recipe is adapted from what I found at Andrea The Kitchen Witch who was using the brookie recipe in the Clinton St Baking Company Cookbook. If you look at the ingredients there is much less added fat and flour than other cookies. I'm not saying it's healthy, what I am saying it's mostly chocolate and sugar. :) I have gotten into this thing where I only make part of a batch of cookies so I don't have to stress about what I am going to do with them all. Eat them, I know. There is only so may you can eat though before they are not at their best. If you need (want?) more though just double everything.
Cookies 'n' Cream Brookies
How I Did It:
(makes about 12 cookies)
1/4 cup all purpose flour
1/8 tsp baking powder
1/8 tsp salt
1/2 tbsp canola oil
1/2 tsp unsalted butter
1 cup semi-sweet chocolate
1 large egg
1/4 + 1/8 cup dark brown sugar
1/2 tsp vanilla
7 oz cookies 'n' creme kisses, halved
1. In a small/medium bowl, whisk together flour, baking powder, and salt. Set aside.
2. In a double boiler, melt the oil, butter, and chocolate and stir until well-combined and smooth. Take off heat and let cool, stirring frequently.
3. While the chocolate mixture is cooling, in a separate bowl whisk together the egg, brown sugar, and vanilla.
4. Fold the melted chocolate mixture into the egg mixture. Stir in the flour mixture until just combined. Stir in broken kisses.
5. Pour into a shallow pan and place in the freezer for 6 to 8 minutes. You just want it to harden up, do not let it freeze. Preheat oven to 350 and prepare cookie sheet with your Silpat or parchment paper.
6. Remove from freezer and scoop rounded balls (slightly larger than tablespoon size) onto prepared baking sheet, keeping each 2 inches apart. Bake for about 10 minutes until the edges look dry and the tops have started to crack a bit.
7. Cool for 2 minutes on the baking sheet before removing to cool completely on cooling racks.
No comments:
Post a Comment